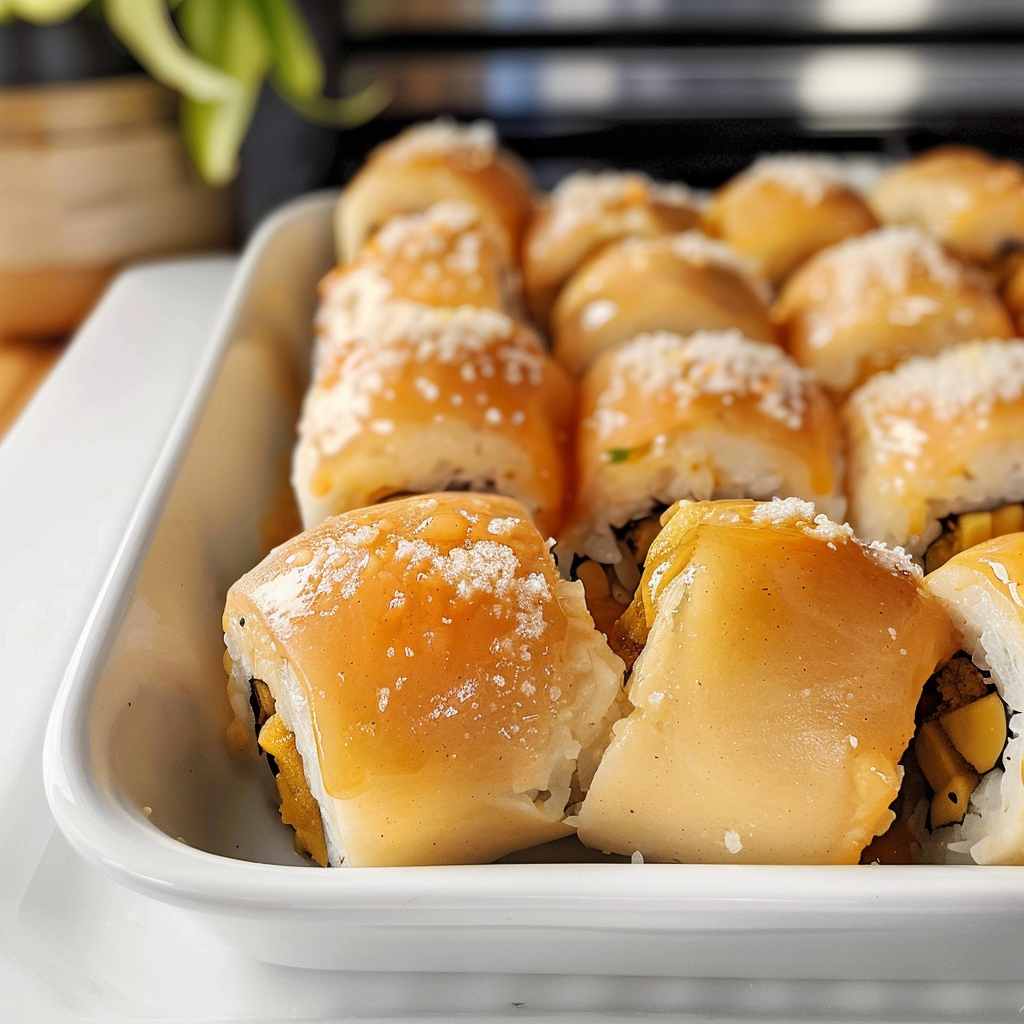
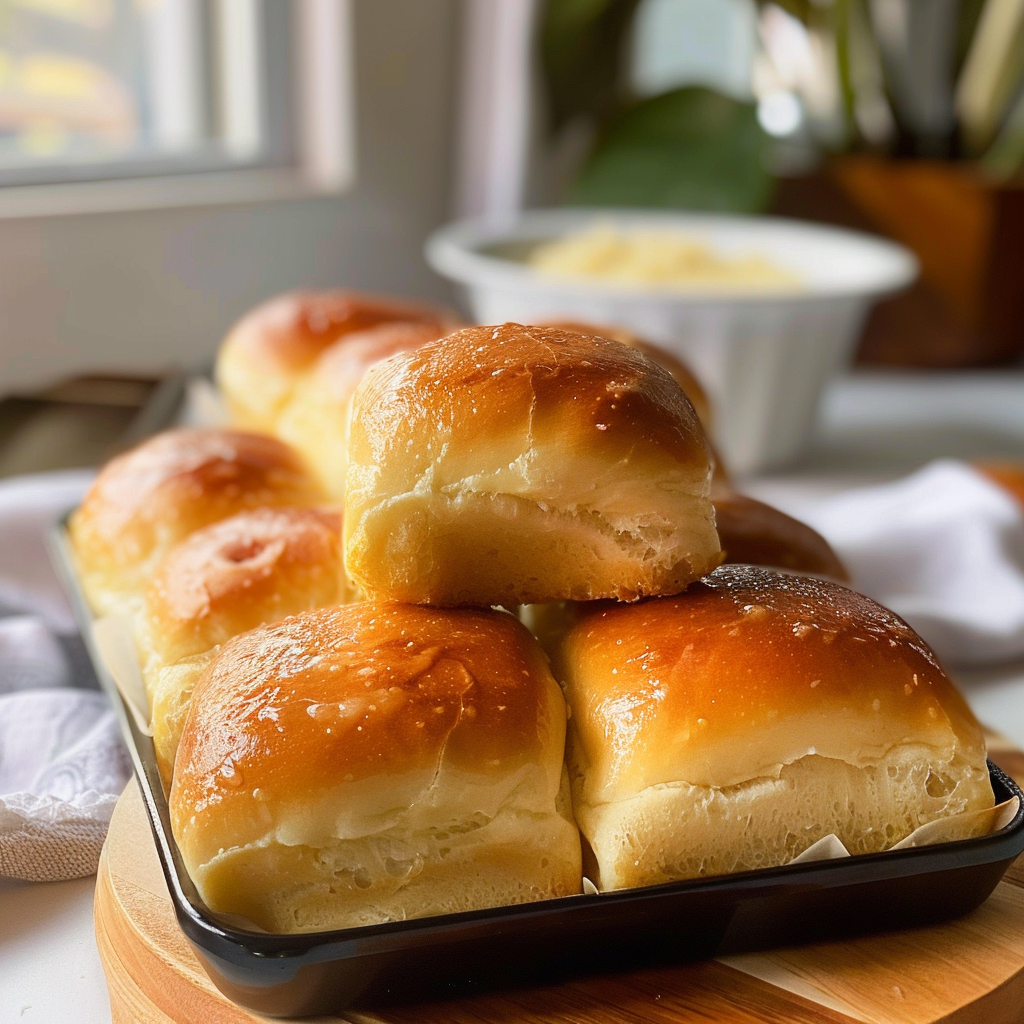
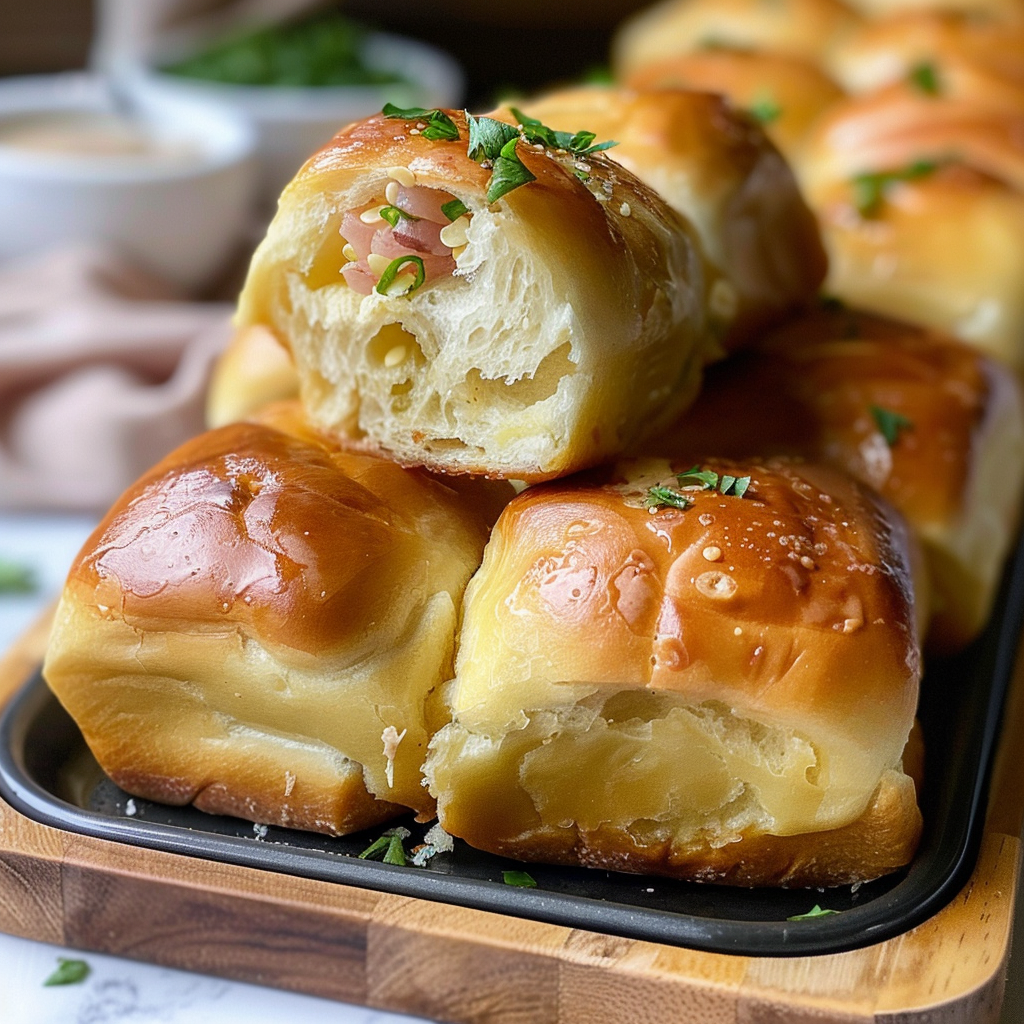
There’s something magical about Hawaiian rolls. Imagine biting into a fluffy piece of bread that feels like a warm hug on a chilly day—sweet, soft, and slightly buttery. They’re not just any dinner roll; they’re the life of the party! You can serve them at family gatherings or have them as a side for your Sunday roast; the possibilities are endless.
Jump to:
- <strong>Essential Ingredients</strong>
- <strong>Let’s Make it together</strong>
- <strong>Perfecting the Cooking Process</strong>
- <strong>Add Your Touch</strong>
- <strong>Storing & Reheating</strong>
- <strong>FAQ</strong>
- Can I use whole wheat flour for Hawaiian rolls?
- How long do homemade Hawaiian rolls last?
- Can I freeze leftover Hawaiian rolls?
- 📖 Recipe Card
The first time I encountered these delightful little gems was at a beach picnic with friends. We devoured them faster than you could say “Aloha!” Their light sweetness paired perfectly with savory dishes. Since then, I’ve been on a mission to replicate that heavenly experience in my kitchen. Grab your apron; we’re about to embark on a flavor adventure!
Why You'll Love This Recipe
- These Hawaiian rolls are incredibly easy to prepare and require minimal ingredients.
- Their sweet flavor profile makes them perfect for pairing with savory dishes or enjoying plain.
- The stunning golden color adds visual appeal to any meal spread.
- Plus, they’re versatile enough for sandwiches or sliders!
Every time I bake these rolls, my family gathers around like moths to a flame—it’s always fun to see their faces light up with joy.
Essential Ingredients
Here’s what you’ll need to make this delicious dish:
- All-Purpose Flour: A staple ingredient that provides structure; sift it before measuring for best results.
- Granulated Sugar: Just the right amount adds sweetness; feel free to adjust based on preference.
- Active Dry Yeast: Ensure it’s fresh for optimal rising; check the expiration date before using.
- Warm Milk: Use about 110°F (43°C) milk to activate the yeast; warm but not too hot!
- Unsalted Butter: Softened butter enriches the dough; melt it lightly for ease of mixing.
- Eggs: One egg adds richness and moisture; be sure it’s at room temperature.
- Salt: Essential for flavor balance; don’t skip it!
- Pineapple Juice (optional): For an extra hint of tropical flavor; use canned juice if fresh isn’t available.
The full ingredients list, including measurements, is provided in the recipe card directly below.
Let’s Make it together
Activate the Yeast: In a small bowl, combine warm milk and sugar. Sprinkle yeast over the top and let it sit until frothy—around five minutes—this means those yeasties are alive and ready to party!
Mix Dry Ingredients: In a large mixing bowl, whisk together flour and salt. Make sure there are no lumps—this is crucial for even texture in your rolls.
Create the Dough: Add activated yeast mixture, melted butter, pineapple juice (if using), and eggs into dry ingredients. Mix until you form a sticky dough that pulls away from the sides of the bowl.
Knead Like You Mean It: Transfer dough onto a floured surface and knead for about 8-10 minutes until smooth and elastic. You want it to feel like a baby’s bottom—soft but resilient.
Let It Rise: Place the dough in an oiled bowl, cover with a damp cloth, and let it rise in a warm place until doubled in size—roughly an hour. Patience is key here!
Shape Your Rolls: After rising, punch down the dough gently (it’s not personal). Divide into equal pieces and shape each piece into a ball. Place them in a greased baking dish close together so they can cuddle while baking.
Bake Them Up: Preheat your oven to 350°F (175°C). Bake those beauties for 20-25 minutes until golden brown on top and they sound hollow when tapped lightly.
Now you can take out your adorable Hawaiian rolls! Let them cool slightly before serving so nobody burns their tongue—and trust me, they will want to dive right in!
These Hawaiian rolls are not only mouth-watering but also bring that little taste of paradise right into your home kitchen. Enjoy every bite as if you’ve been transported straight to Hawaii itself!
You Must Know
- Hawaiian rolls are fluffy, sweet, and perfect for any meal.
- Their delightful taste elevates sandwiches, sliders, or even as a standalone treat.
- Experiment with different toppings and fillings to make them even more fabulous.
- The aroma while baking is simply irresistible!
Perfecting the Cooking Process
Start by mixing your ingredients carefully; let the dough rise until it doubles in size for the best texture.
Add Your Touch
Consider adding pineapple juice for extra sweetness or swap honey for sugar to enhance the flavor profile.
Storing & Reheating
Store Hawaiian rolls in an airtight container. Reheat in the oven at 350°F for about 5-7 minutes.
Chef's Helpful Tips
- Always measure your flour correctly; too much can lead to dry rolls.
- Knead the dough enough for elasticity but avoid overworking it.
- For an extra golden top, brush with melted butter before baking.
Baking these Hawaiian rolls reminds me of family gatherings where everyone fights over the last piece. The joy on their faces makes every effort worth it!
FAQ
Can I use whole wheat flour for Hawaiian rolls?
Yes, but it will change the texture and sweetness of the rolls.
How long do homemade Hawaiian rolls last?
They can last up to three days in an airtight container at room temperature.
Can I freeze leftover Hawaiian rolls?
Absolutely! Wrap them tightly and store them in the freezer for up to three months.
Did You Enjoy Making This Recipe? Please rate this recipe with ⭐⭐⭐⭐⭐ or leave a comment.
📖 Recipe Card
Print
Easy and Delicious Hawaiian Rolls
- Total Time: 40 minutes
- Yield: Approximately 12 servings 1x
Description
Hawaiian rolls are irresistibly soft, fluffy, and slightly sweet, making them the perfect addition to any meal or gathering. Enjoy a taste of the tropics at home!
Ingredients
- 4 cups all-purpose flour
- ½ cup granulated sugar
- 2 tsp active dry yeast
- 1 cup warm milk (110°F)
- ½ cup unsalted butter (softened)
- 1 large egg
- 1 tsp salt
- ½ cup pineapple juice (optional)
Instructions
- In a bowl, combine warm milk and sugar. Sprinkle yeast over top; let sit until frothy (about 5 minutes).
- In a large mixing bowl, whisk flour and salt together.
- Add yeast mixture, melted butter, pineapple juice (if using), and egg to dry ingredients. Mix until sticky dough forms.
- Knead dough on a floured surface for 8-10 minutes until smooth and elastic.
- Place in an oiled bowl, cover, and let rise in a warm spot until doubled in size (about 1 hour).
- Punch down dough, divide into equal pieces, and shape into balls. Place close together in a greased baking dish.
- Preheat oven to 350°F (175°C). Bake for 20-25 minutes until golden brown and hollow-sounding when tapped.
- Prep Time: 15 minutes
- Cook Time: 25 minutes
- Category: Baking
- Method: Baking
- Cuisine: Hawaiian
Nutrition
- Serving Size: 1 roll (40g)
- Calories: 150
- Sugar: 6g
- Sodium: 120mg
- Fat: 6g
- Saturated Fat: 3g
- Unsaturated Fat: 2g
- Trans Fat: 0g
- Carbohydrates: 21g
- Fiber: 0g
- Protein: 3g
- Cholesterol: 20mg
