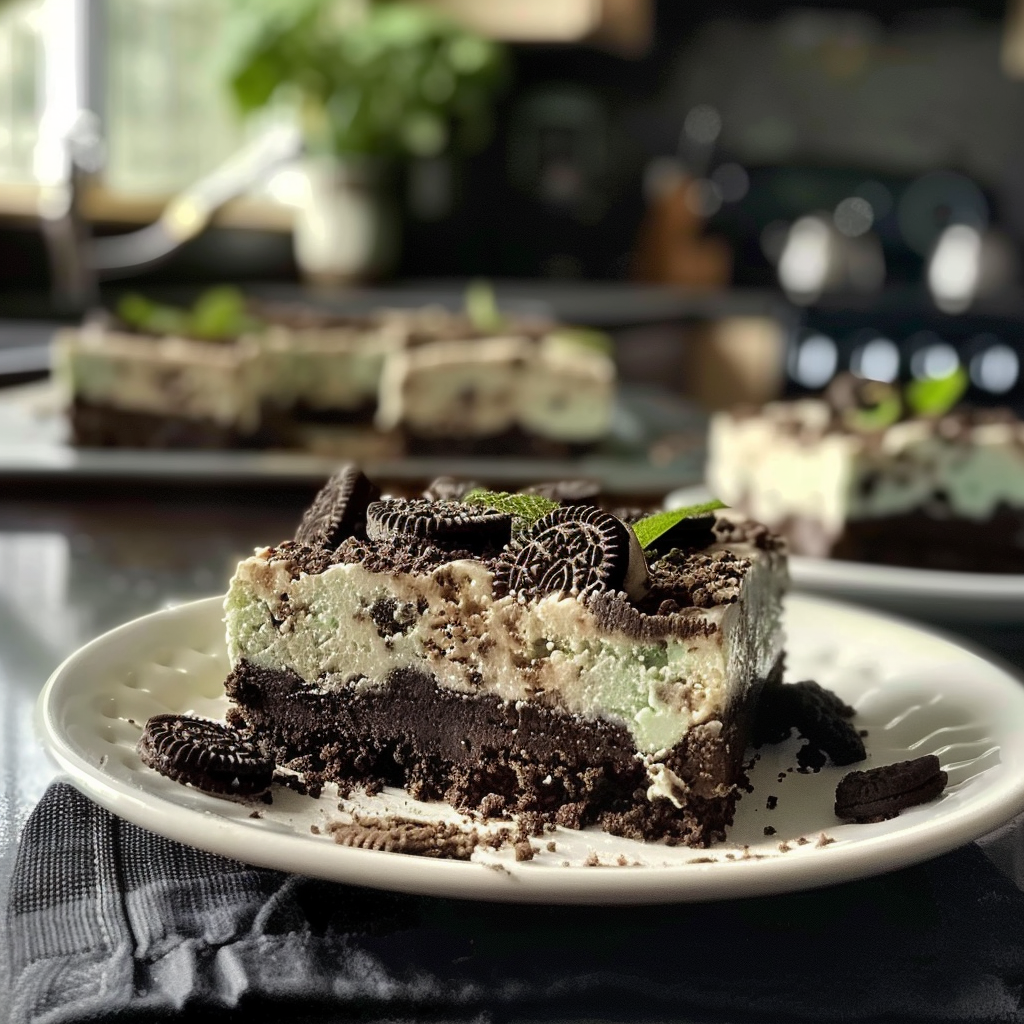
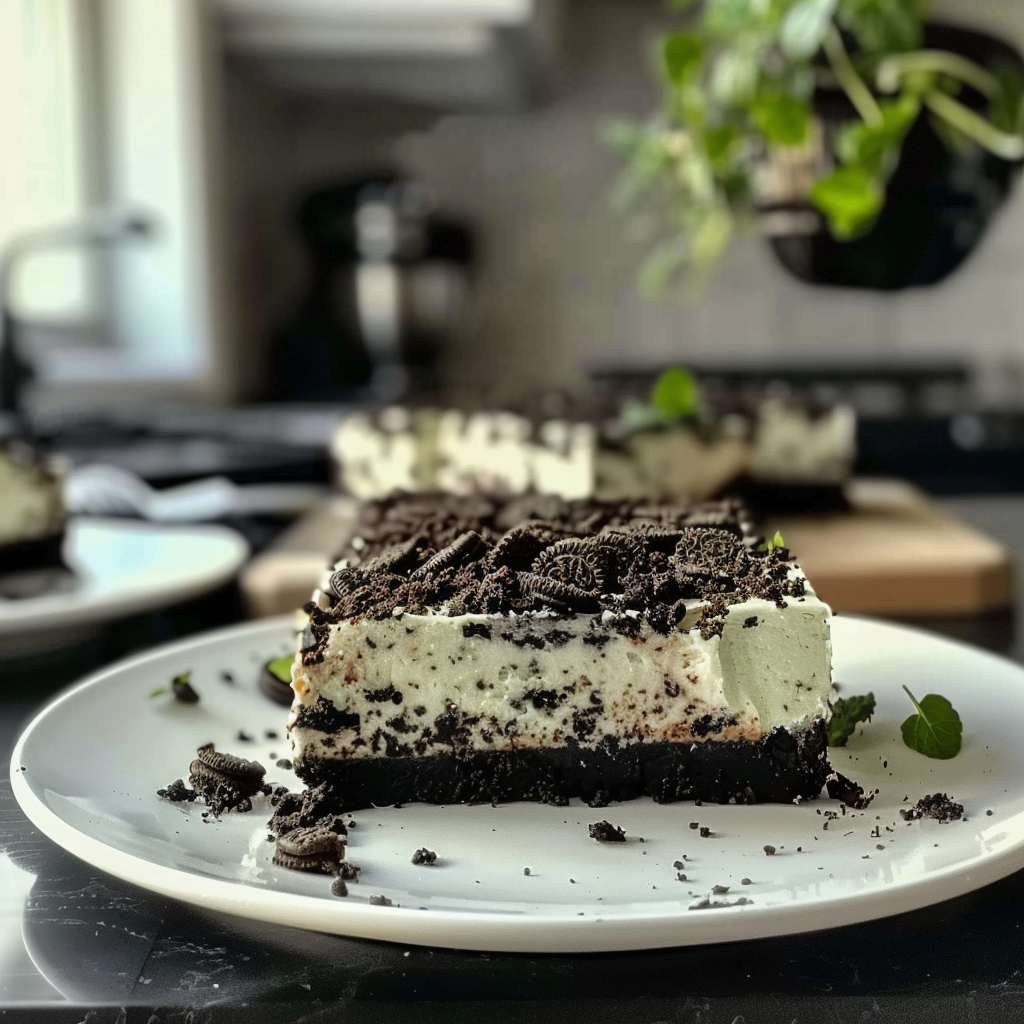
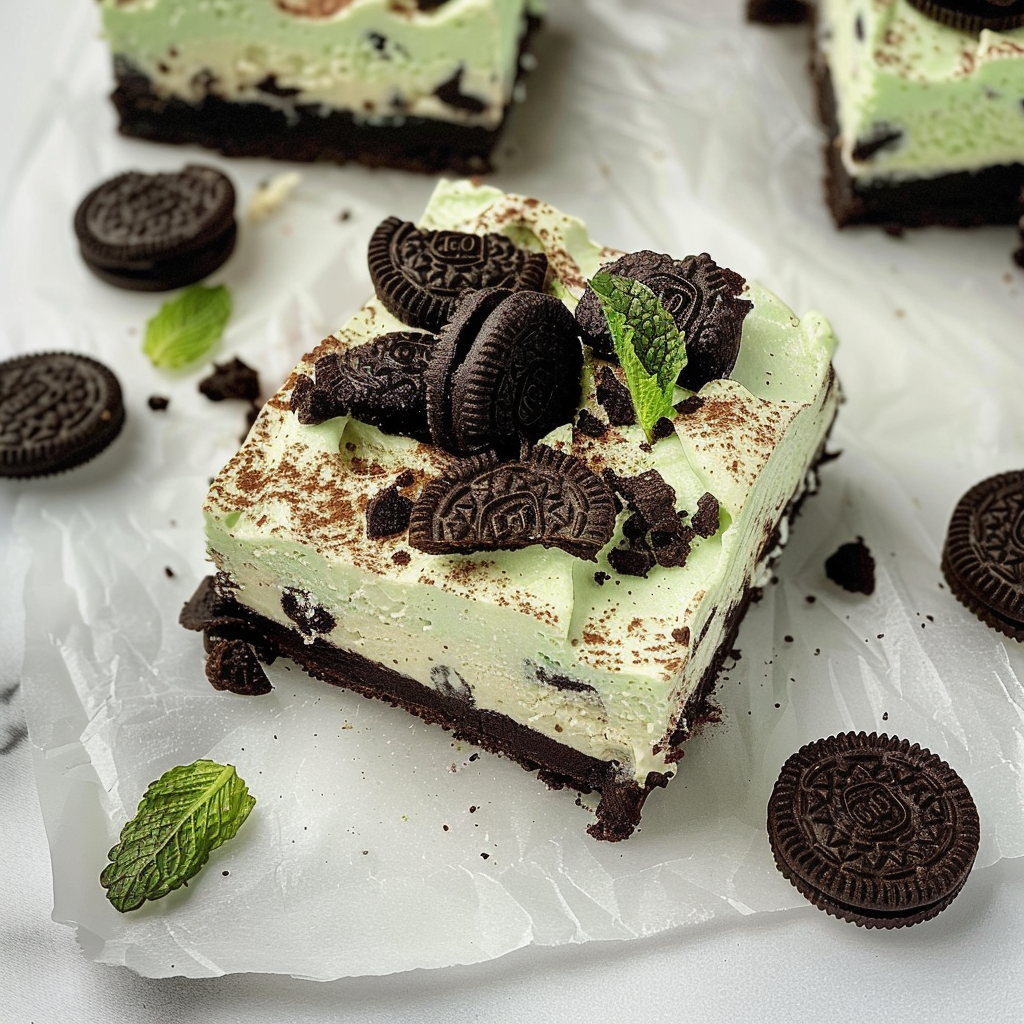
The moment you take a bite of a Mint Oreo Cheesecake Bar, you’re enveloped in a creamy, dreamy world where rich chocolate meets refreshing mint. It’s like your taste buds just threw a party, and everyone is invited! Imagine the crunch of an Oreo crust giving way to luscious layers of minty goodness—it’s practically dessert euphoria.
Jump to:
- <strong>Essential Ingredients</strong>
- <strong>Let’s Make it together</strong>
- <b>Tips:</b>
- <strong>Perfecting the Cooking Process</strong>
- <strong>Add Your Touch</strong>
- <strong>Storing & Reheating</strong>
- <strong>FAQ</strong>
- Can I use low-fat cream cheese?
- How do I know when they are set?
- Can I freeze Mint Oreo Cheesecake Bars?
- 📖 Recipe Card
These bars aren’t just tasty; they evoke memories. I remember the first time I made them for my cousin’s birthday bash; the enthusiastic cheers were music to my ears as they disappeared faster than you could say “cheesecake.” Perfect for parties or cozy nights at home, these bars promise to elevate any occasion with their mouthwatering flavor and stunning visual appeal.
Why You'll Love This Recipe
- These Mint Oreo Cheesecake Bars are incredibly easy to whip up in under an hour.
- The bold mint flavor combined with the smooth creaminess creates an unforgettable treat.
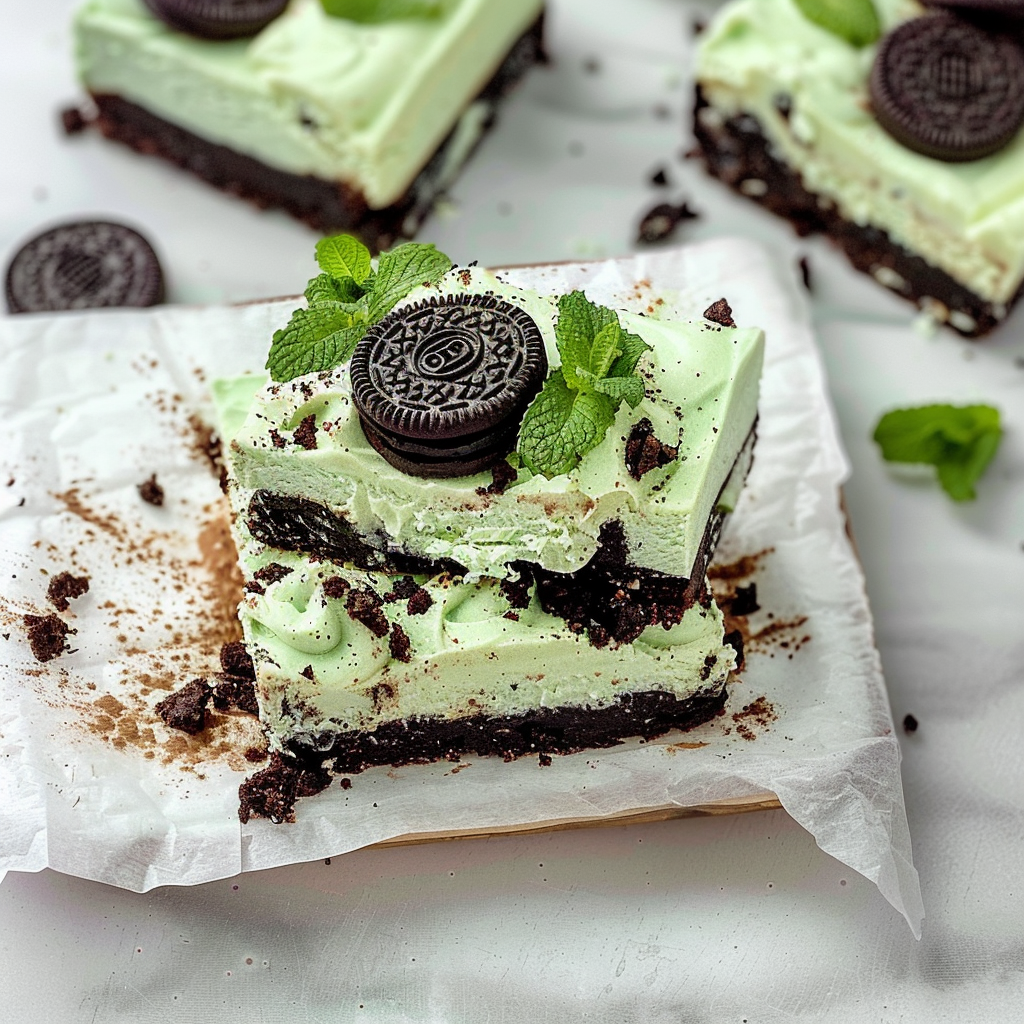
- Visually stunning with their vibrant green hue and dark crust, they are sure to impress guests.
- Perfect for any gathering or simply enjoying on a quiet evening at home.
I’ll never forget the laughter and smiles as friends devoured these bars at our last game night—it was definitely a hit!
Essential Ingredients
Here’s what you’ll need to make this delicious dish:
- Oreo Cookies: Use regular Oreos for the crust—they provide the perfect balance of chocolate and creaminess.
- Unsalted Butter: Melted butter binds the crust together beautifully; don’t skip this step!
- Cream Cheese: Make sure it’s softened; this ensures your filling is smooth and creamy.
- Powdered Sugar: Sweetens without grittiness—perfect for that silky texture.
- Heavy Whipping Cream: This adds richness; whipping it until stiff peaks form makes all the difference.
- Mint Extract: Use pure mint extract for an intense flavor that shines through.
- Green Food Coloring (Optional): A few drops add a festive touch to these delightful bars.
The full ingredients list, including measurements, is provided in the recipe card directly below.
Let’s Make it together
Create the Crust: Start by preheating your oven to 350°F (175°C). Crush about 24 Oreos into fine crumbs using a food processor or a rolling pin. Combine with melted butter until it resembles wet sand.
Press into Pan: Line an 8×8-inch baking dish with parchment paper. Press the crumb mixture firmly into the bottom of the pan using your fingertips or a flat-bottomed glass for evenness.
Prepare Filling Base: In a large mixing bowl, beat softened cream cheese with an electric mixer until smooth and fluffy. Gradually add powdered sugar while mixing until well combined.
Add Flavor Elements: Mix in heavy whipping cream and mint extract until fully incorporated. If using food coloring, add it now until you reach your desired shade of green.
Fold Whipped Cream In: Gently fold whipped cream into the cream cheese mixture using a spatula. Be careful not to deflate it too much—this keeps your filling light and airy.
Assemble & Chill: Pour the filling over your prepared crust and spread evenly with a spatula. Refrigerate for at least four hours or overnight to let everything set perfectly before slicing into squares.
Now that we’ve crafted these delicious Mint Oreo Cheesecake Bars together, get ready! Once you’ve tasted one bite of this creamy delight topped with Oreos on each square, you’ll be hooked!
Tips:
- Always chill your cheesecake bars for at least four hours before cutting them. This helps set the layers perfectly, preventing a messy slice. I once tried to cut mine too early and ended up with a gooey disaster that looked more like a science experiment than dessert.
- Use room temperature cream cheese for a smoother texture. Cold cream cheese can lead to lumps that ruin your cheesecake’s silkiness. I learned this the hard way when my first attempt resembled more of a chunky pudding than a creamy delight.
- Crushed Oreos make an excellent crust, but don’t forget to mix in some melted butter for binding. The right balance will give you that perfect crunch. The first batch I made lacked this crucial step, leaving me with a sad, crumbly crust that could barely hold together!
Perfecting the Cooking Process
To ensure your Mint Oreo Cheesecake Bars turn out fabulous, start by preparing your crust while preheating the oven. Bake it until golden brown before mixing your filling, which should be done quickly to maintain its fluffiness.
Add Your Touch
Feel free to swap regular Oreos with mint-flavored ones for an extra kick! You can also experiment by adding chocolate chips or drizzling melted chocolate on top for added decadence.
Storing & Reheating
Store your Mint Oreo Cheesecake Bars in an airtight container in the fridge for up to five days. They taste best chilled straight from the fridge; no reheating necessary!
Chef's Helpful Tips
- These cheesecake bars are easy to make ahead of time for parties or gatherings.
- Perfectly sweetened and surprisingly simple, they’ll impress everyone without taking too much of your precious time!
Make sure not to overmix after adding eggs; this keeps them light and fluffy!
The first time I made these Mint Oreo Cheesecake Bars, my friends devoured them in minutes! Their smiles and compliments made every ounce of effort worthwhile.
FAQ
Can I use low-fat cream cheese?
You can substitute low-fat cream cheese, but the texture may differ slightly.
How do I know when they are set?
The cheesecake bars should be firm around the edges but slightly wobbly in the center when done.
Can I freeze Mint Oreo Cheesecake Bars?
Yes, wrap them tightly and freeze for up to three months; thaw before serving for best results.
Did You Enjoy Making This Recipe? Please rate this recipe with ⭐⭐⭐⭐⭐ or leave a comment.
📖 Recipe Card
Print
Mint Oreo Cheesecake Bars
- Total Time: 30 minutes
- Yield: 16 servings 1x
Description
Mint Oreo Cheesecake Bars are a luscious treat featuring a creamy mint filling atop a crunchy Oreo crust, making them the ultimate dessert for any occasion.
Ingredients
- 24 Oreo cookies, crushed (for crust)
- 4 tbsp unsalted butter, melted
- 8 oz cream cheese, softened
- 1 cup powdered sugar
- 1 cup heavy whipping cream
- 1 tsp pure mint extract
- Green food coloring (optional)
Instructions
- Preheat oven to 350°F (175°C). Crush Oreos into fine crumbs and mix with melted butter.
- Press the mixture firmly into an 8×8-inch baking dish lined with parchment paper.
- In a large bowl, beat softened cream cheese until smooth. Gradually add powdered sugar.
- Mix in heavy whipping cream and mint extract until well combined. Add food coloring if desired.
- Gently fold whipped cream into the mixture. Pour over the crust and spread evenly.
- Refrigerate for at least four hours or overnight before slicing into squares.
- Prep Time: 20 minutes
- Cook Time: 10 minutes
- Category: Dessert
- Method: Baking
- Cuisine: American
Nutrition
- Serving Size: 1 square (approximately 60g)
- Calories: 220
- Sugar: 15g
- Sodium: 140mg
- Fat: 15g
- Saturated Fat: 9g
- Unsaturated Fat: 4g
- Trans Fat: 0g
- Carbohydrates: 21g
- Fiber: 1g
- Protein: 2g
- Cholesterol: 40mg
